Introduction
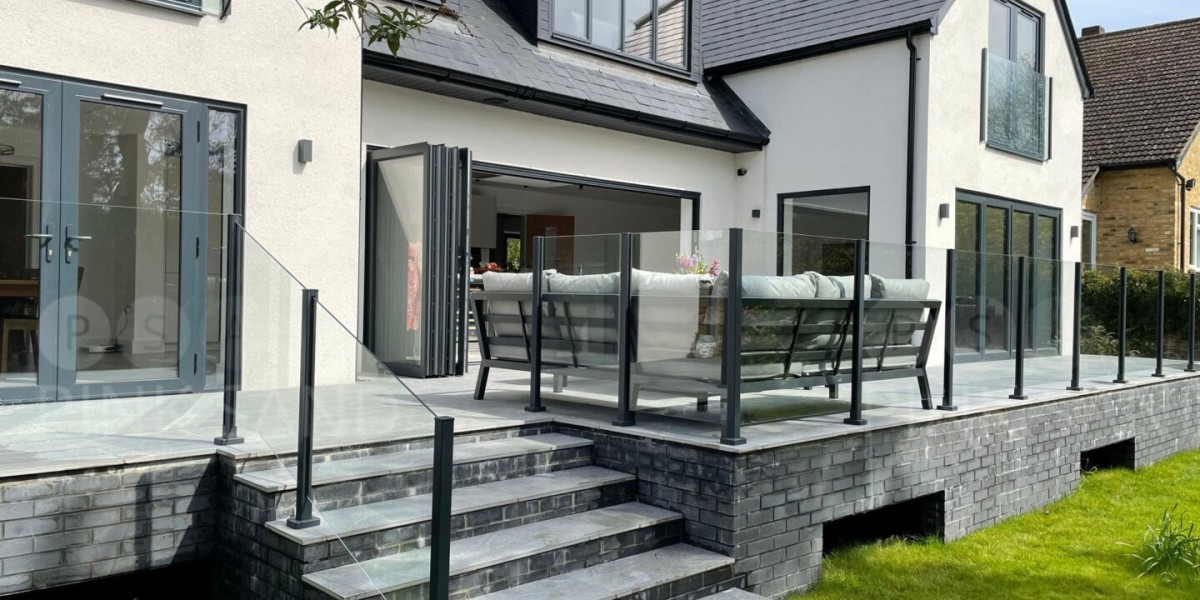
Bifold doors, also known as folding doors, are an increasingly popular choice for homeowners looking to enhance their living spaces. These doors offer a seamless transition between indoor and outdoor areas, maximizing natural light and providing a stylish aesthetic. This report provides a detailed guide on bifold door installation, covering everything from preparation to the final touches.
Understanding Bifold Doors
Bifold doors consist of multiple panels that fold back against each other when opened. They can be made from various materials, including wood, aluminum, and PVC. Each material has its own benefits: wood offers warmth and charm, aluminum provides durability and a modern look, and PVC is cost-effective and low-maintenance.
Benefits of Bifold Doors
- Space Efficiency: Bifold doors fold neatly to the side, allowing for more usable space compared to traditional swinging doors.
- Natural Light: With large glass panels, bifold doors let in ample natural light, brightening up interiors.
- Versatility: They can be used in various settings, including patios, balconies, and even as room dividers.
- Enhanced Aesthetics: Bifold doors can significantly improve the visual appeal of a home, creating a modern and open feel.
Tools and Materials Required
Before starting the installation, gather the necessary tools and materials:
Tools:
- Measuring tape
- Level
- Screwdriver
- Drill
- Hammer
- Saw (if adjustments are needed)
- Safety goggles
- Stud finder
- Caulking gun
Materials:
- Bifold door kit (includes panels, tracks, and hardware)
- Shims
- Wood screws
- Caulk or weather stripping
- Paint or stain (for finishing)
Step-by-Step Installation Guide
Step 1: Measure the Opening
Accurate measurements are crucial for a successful installation. Measure the height and width of the door opening at three points: top, middle, and bottom. Use the smallest measurement to ensure a proper fit. Additionally, check for levelness; the opening should be plumb and square.
Step 2: Prepare the Opening
Remove any existing doors, trim, or hardware from the opening. Clean Pro the area to ensure a smooth installation. If necessary, make adjustments to the framing to ensure it is square and level. Installing shims may be required to achieve this.
Step 3: Assemble the Bifold Door Frame
Follow the manufacturer’s instructions to assemble the bifold door frame. Typically, this involves connecting the top and bottom tracks and ensuring that the hinges are attached securely to the panels. Ensure that all screws are tightened and that the frame is sturdy.
Step 4: Install the Top Track
Position the top track in the door opening. Use a level to ensure it is perfectly horizontal. Secure the track to the framing using screws, ensuring that it is firmly anchored. If the opening is not level, use shims to adjust the height accordingly.
Step 5: Attach the Panels
Start with the first panel, inserting it into the top track. Ensure that the rollers are properly aligned with the track. Repeat this process for each subsequent panel, ensuring that they fold neatly against each other. It’s important to check that each panel operates smoothly before moving on to the next step.
Step 6: Install the Bottom Track
Once all panels are in place, install the bottom track. It should align with the top track to allow for smooth operation. Secure the bottom track to the floor using screws, ensuring it is level and properly anchored.
Step 7: Adjust the Panels
After installing the tracks, adjust the panels to ensure they open and close smoothly. Most bifold doors come with adjustable rollers that allow you to fine-tune the height and alignment of each panel. Make sure there are no gaps between the panels when closed.
Step 8: Install Handles and Locks
Once the panels are adjusted, install the handles and any locking mechanisms. Follow the manufacturer’s instructions for proper placement and installation. This step is crucial for both functionality and security.
Step 9: Seal the Edges
To prevent drafts and moisture from entering, apply caulk or weather stripping around the edges of the door frame. This ensures a tight seal and enhances energy efficiency.
Step 10: Finishing Touches
After installation, consider painting or staining the door panels to match your interior decor. Allow sufficient time for the finish to dry before using the doors.
Maintenance Tips
To keep bifold doors functioning optimally, regular maintenance is essential. Here are some tips:
- Clean the Tracks: Regularly remove debris from the tracks to prevent jams.
- Lubricate Rollers: Use a silicone-based lubricant on the rollers to ensure smooth operation.
- Check for Damage: Periodically inspect the doors for signs of wear or damage, and address any issues promptly.
- Adjust as Needed: If the doors become misaligned over time, make adjustments to the rollers to restore proper operation.
Conclusion
Installing bifold doors can significantly enhance the functionality and aesthetics of a space. While the process may seem daunting, following a detailed guide can simplify the installation. With the right tools, materials, and careful attention to detail, homeowners can successfully install bifold doors and enjoy the benefits they offer for years to come.